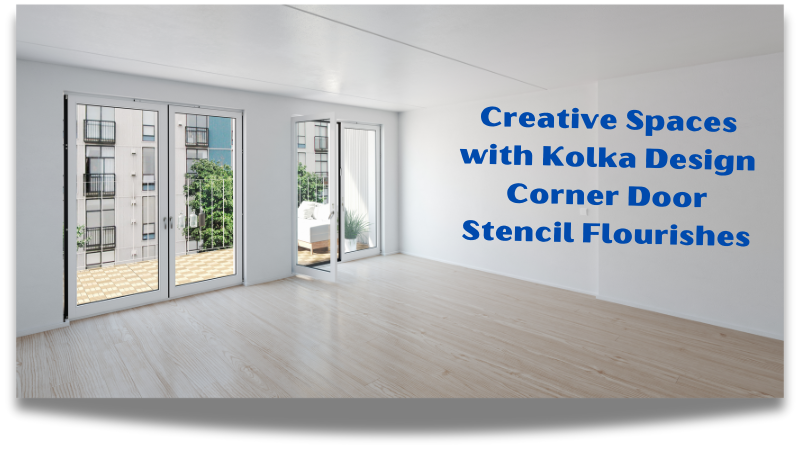
Transform Your Space with Kolka Design Corner Stencils
Do you ever look at the doorways or corners in your home and feel like they could use a little extra flair? Maybe your walls or furniture are missing something that could elevate the space without the need for an entire renovation. If so, you’re not alone—many of us struggle to add the right touch that makes a space truly feel like home.
That’s when I discovered Kolka Design Corner Door Stencil Flourishes. These simple yet transformative pieces of art are a game-changer for DIY home decor. They bring life to seemingly ordinary spaces, such as door corners or the edges of windows, and turn them into beautiful focal points with minimal effort.
You might be thinking, “Stencils? Aren’t they from the 90s craft scene?” Think again. In 2024, stencils are making a strong comeback, and Kolka Design is leading the charge with their detailed, modern, and sophisticated corner flourishes. These designs are not just for the crafty—they are for anyone looking to enhance their home’s aesthetic without committing to a full remodel.
By the end of this guide, you’ll know exactly how to use Kolka Design stencils to create a stunning impact in your home, even if you’re a beginner. Ready to turn those blank corners into works of art? Let’s get started!
What’s in it for you?
By the time you finish reading this guide, you’ll have all the tools and tips you need to:
- Enhance your home’s aesthetic with beautifully detailed flourishes.
- Learn simple DIY techniques to apply stencils like a pro.
- Understand why stencils are making a comeback in modern interior design.
Ready to unleash your inner artist? Let’s dive in!
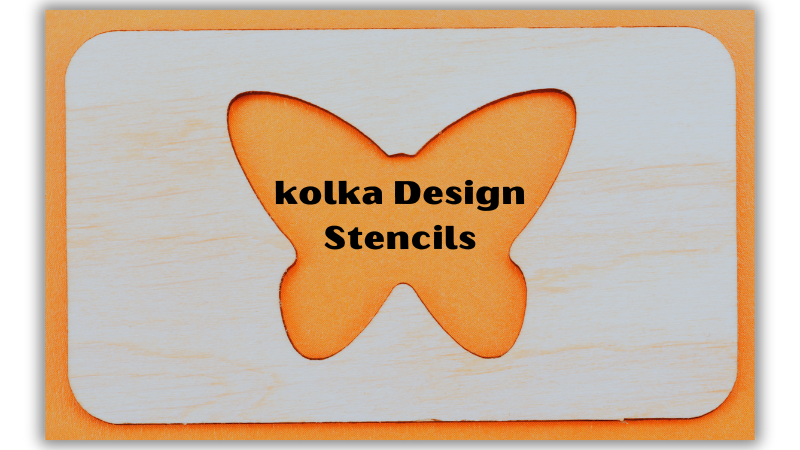
What Exactly Are Kolka Design Corner Door Stencil Flourishes?
Stencils are essentially templates that allow you to paint intricate designs on various surfaces. Kolka Design specializes in corner door stencil flourishes, which are elegant, artistic designs meant to be applied to the corners of doors, walls, or windows. These flourishes draw inspiration from classic European styles, but with a modern twist, making them the perfect way to add a timeless yet fresh touch to your home.
The beauty of these corner flourishes is their versatility. Whether you want to enhance the corners of your door frames, create a striking accent on your furniture, or introduce a bit of charm to your windowsills, Kolka Design stencils offer a hassle-free way to achieve a detailed and sophisticated look.
And here’s the kicker: Kolka’s stencils are completely customizable! You can choose the color of your paint, the type of design, and even layer different flourishes to create a one-of-a-kind masterpiece. How cool is that?
- Did you know? You can customise your Kolka stencil with any paint colour. This lets you match your home’s décor.
Why Choose Stencils Over Freehand Painting?
You may be wondering why you should go the stencil route instead of just grabbing a paintbrush and trying your hand at freehand painting. After all, how hard can it be to paint some flourishes on your door, right? Well, here’s why stencils are the smarter choice:
1. Perfect Precision Every Time
Let’s face it: freehand painting, especially when you’re aiming for intricate flourishes, can quickly turn into a disaster. Achieving symmetry, clean lines, and consistent designs is tough, even for the most seasoned artists. With Kolka stencils, however, you get perfect precision every time. The stencil does all the work for you, ensuring that each flourish is identical and that your design stays neat and consistent.
Pro Tip: Secure your stencil with painter’s tape to ensure it stays in place while you work. A little extra care in securing the stencil can go a long way in achieving a flawless look.
2. Faster Than You Think
Many people think that stenciling is a long and tedious process, but in reality, it’s much faster than you might imagine. In just an afternoon, you can transform an entire door frame or even the corners of a room. All you need is a Kolka stencil, some paint, and a few basic tools. In less than an hour, you could have a stunning design that would have taken days (or even weeks) if you had tried to paint it freehand.
3. Endless Customization
One of the most exciting things about using stencils is the endless customization options available. Kolka Design offers an array of corner flourishes, from simple and elegant to intricate and bold. You can select the paint color that matches your current decor or even use different colors to create a layered, multi-tonal effect.
Real-World Example: My friend Sarah wanted to update her entryway without spending a fortune on a remodel. She used Kolka’s corner flourishes in a deep gold for the main design, and then added a smaller white stencil as an accent. The two-tone effect gave the space a chic, contemporary feel, while the gold created a classic, elegant touch.
Many people think that stenciling is a long and tedious process, but in reality, it’s much faster than you might imagine. In just an afternoon, you can transform an entire door frame or even the corners of a room. All you need is a Kolka stencil, some paint, and a few basic tools. In less than an hour, you could have a stunning design that would have taken days (or even weeks) if you had tried to paint it freehand.
How to Use Kolka Design Stencils: Step-by-Step Guide
Now that you’re convinced about the power of stencils, it’s time to get started! Follow this simple step-by-step guide, and you’ll be stenciling like a pro in no time.
Step 1: Gather Your Supplies
Before you start, make sure you have everything you need:
- Kolka Design stencil
- Acrylic paint (or another paint suitable for your surface)
- Painter’s tape (for securing the stencil)
- Small foam roller or stencil brush
- Paper towels or old newspapers to protect the surrounding area
- Ruler (for precise alignment)
- Level (to ensure the stencil is straight)
Step 2: Align Your Stencil
Proper alignment is the key to a professional-looking design. Measure where you want your stencil to go—typically, the corner of a door or wall is a great spot for flourishes. Once you’ve chosen the location, tape the stencil in place with painter’s tape.
Pro Tip: Use a level to double-check that your stencil is perfectly straight. Believe me, nothing is worse than finishing a stencil only to realize it’s crooked.
Step 3: Apply the Paint
Next, you’ll use your stencil brush or foam roller to apply the paint. Be sure to apply a light coat at first. It’s always better to build up layers than to go heavy-handed with the paint, as too much can cause the edges of your design to bleed.
Insider Secret: The lighter your paint layers, the cleaner your edges will be. It may take a few extra minutes, but it’s worth it for the sharp, crisp lines you’ll get in the end.
Step 4: Remove the Stencil (Carefully!)
Once the paint has dried for a few minutes, it’s time to remove the stencil. Start peeling it off gently, beginning from one corner. Be cautious to avoid smudging any wet paint as you remove the stencil.
Step 5: Admire Your Work!
Step back and take a moment to admire the transformation you’ve just created. What was once a blank, uninspired space is now a stylish focal point. You’ve added an elegant flourish that complements your home’s aesthetic and gives it a personal touch. High five!
Proper alignment is the key to a professional-looking design. Measure where you want your stencil to go—typically, the corner of a door or wall is a great spot for flourishes. Once you’ve chosen the location, tape the stencil in place with painter’s tape.
Pro Tip: Use a level to double-check that your stencil is perfectly straight. Believe me, nothing is worse than finishing a stencil only to realize it’s crooked.
Can You Use Kolka Stencils on Other Surfaces?
Absolutely! Kolka Design’s stencils are highly versatile and can be applied to more than just doors. Here are a few surfaces where you can use your stencils:
- Walls: Add flourishes to your walls in unexpected places, such as the corners or along a ceiling border.
- Windows: Use stencils to add a decorative element to your windowpanes.
- Furniture: Give your cabinets, tables, or chairs a facelift by applying stencils for a bespoke look.
- Mirrors: Use stencils around the edges of mirrors to add a sophisticated touch.
For each surface, make sure to use the appropriate paint for the material. For example, on glass, use specialized glass paint to ensure better adhesion. For wood, you may need to prime the surface first.
- Isn’t that amazing? You can use one stencil for multiple projects around your home. Talk about versatility!
Why Are Stencils So Popular in 2025?
The stencil trend has gained a lot of momentum in recent years, and it’s no wonder why! Here are some reasons why stenciling is becoming a top choice for homeowners and designers in 2025:
1. Affordable Makeovers
Home renovations can be expensive, but stencils offer a budget-friendly alternative. A Kolka stencil and a can of paint are all you need to completely refresh a room or piece of furniture. It’s a cost-effective way to achieve a designer look without the hefty price tag.
2. Sustainability
In 2024, sustainability is more important than ever. Stenciling is an eco-friendly option because it allows you to repurpose and upcycle existing furniture, doors, and walls instead of replacing them. You’re giving your home a new look without contributing to unnecessary waste.
3. Personalization
In a world where mass-produced furniture and decor are everywhere, stencils allow you to add personalization to your space. You can choose the designs, colors, and layers that reflect your personal style, creating a unique space that’s entirely your own.
FAQs
A: Yes! Just be sure to use exterior-grade paint for outdoor projects.
A: Wipe it down with warm, soapy water and allow it to air dry.
A: Absolutely! With proper care, these stencils can be reused multiple times.
Acrylic paint is a great option for most indoor projects, but be sure to choose the right paint for your surface.
A: Yes, you can create beautiful effects. Let the first layer dry before applying a second stencil
Conclusion: What I Learnt from Using Kolka Design Corner Door Stencil Flourishes
Conclusion: Why Kolka Stencils Are Worth the Investment
In conclusion, Kolka Design Corner Door Stencil Flourishes are one of the easiest, most affordable ways to add personality and elegance to your home. Whether you’re a beginner or a seasoned DIY enthusiast, these stencils give you the ability to create detailed, professional-looking designs with minimal effort.
From doors to walls to furniture, the possibilities are endless. Stenciling allows you to completely transform your space without the need for expensive renovations. Plus, the customization options are nearly limitless, so you can create a space that’s as unique as you are.
So, are you ready to elevate your home with Kolka Design stencils? Trust me, once you start, you won’t want to stop. Happy stenciling!